Here’s the short version: use about 2 tablespoons of medium-ground coffee (roughly 10g) per 6 ounces of fresh, cold filtered water, put a rinsed paper filter in the basket, level the grounds, and hit brew. That’s the whole job. But the difference between a flat, bitter cup and a genuinely good one lives in the small details — so let’s walk through them.
Key Takeaways
- Ratio: ~2 tablespoons (about 10–11g) of ground coffee per 6 oz of water. That’s the classic golden ratio of roughly 1:15 to 1:17.
- Grind: Medium, like coarse sand. Too fine = bitter; too coarse = sour and weak.
- Water: Fresh, cold, filtered. Good machines heat to 195–205°F on their own.
- Filter: Rinse a paper filter first to wash away papery taste. Metal filters give a heavier body.
- Clean it: Rinse the carafe and basket daily; descale monthly with vinegar or a descaling solution.
Coffee-to-Water Ratio Chart
One important thing: a “cup” on your coffee maker usually means 5 or 6 ounces, not a full 8-ounce mug. Use the carafe markings to measure water, and scale the coffee from this table.
| Maker cups (6 oz each) | Water | Ground coffee |
|---|---|---|
| 2 | 12 oz | 4 tbsp (~20g) |
| 4 | 24 oz | 8 tbsp (~40g) |
| 6 | 36 oz | 12 tbsp (~60g) |
| 8 | 48 oz | 16 tbsp (~80g) |
| 10 | 60 oz | 20 tbsp (~100g) |
| 12 | 72 oz | 24 tbsp (~120g) |
Like it stronger? Add a spoonful per pot. Prefer it lighter? Take one away. The table is a starting point — your taste is the final judge.
Step 1: Start With Decent Coffee and Water
No machine can rescue stale beans or harsh water. Whole beans ground right before brewing give the liveliest flavor, since ground coffee starts losing aroma within hours. If pre-ground is what you have, keep the bag sealed, in a cool dark pantry, and use it within a week or two of opening. Freezing beans backfires — moisture ruins them.
And use filtered water. Tap water with chlorine or heavy minerals muddies flavor and speeds up scale buildup inside the machine.
Step 2: Set the Filter Basket
Drop a paper or reusable mesh filter into the basket. If you’re using paper, run a little hot water through it first and dump the rinse water. This takes the papery taste out and also warms up the basket a touch.
Paper vs. metal — quick honest comparison:
| Filter type | Cup profile | Best for |
|---|---|---|
| Paper | Clean, bright, light body; traps oils and fine sediment | People who like clarity and low bitterness |
| Reusable metal mesh | Fuller body, bolder, more oils in the cup | People who like a richer, heavier mouthfeel |
There’s no wrong answer. Try both over a week and see which you reach for.
Step 3: Measure and Level the Grounds
Scoop your coffee into the filter using the chart above and shake the basket gently so the bed sits flat and level. An uneven bed means water channels through the thin spots and over-extracts the thick ones — a flat, even bed gives a more balanced cup.
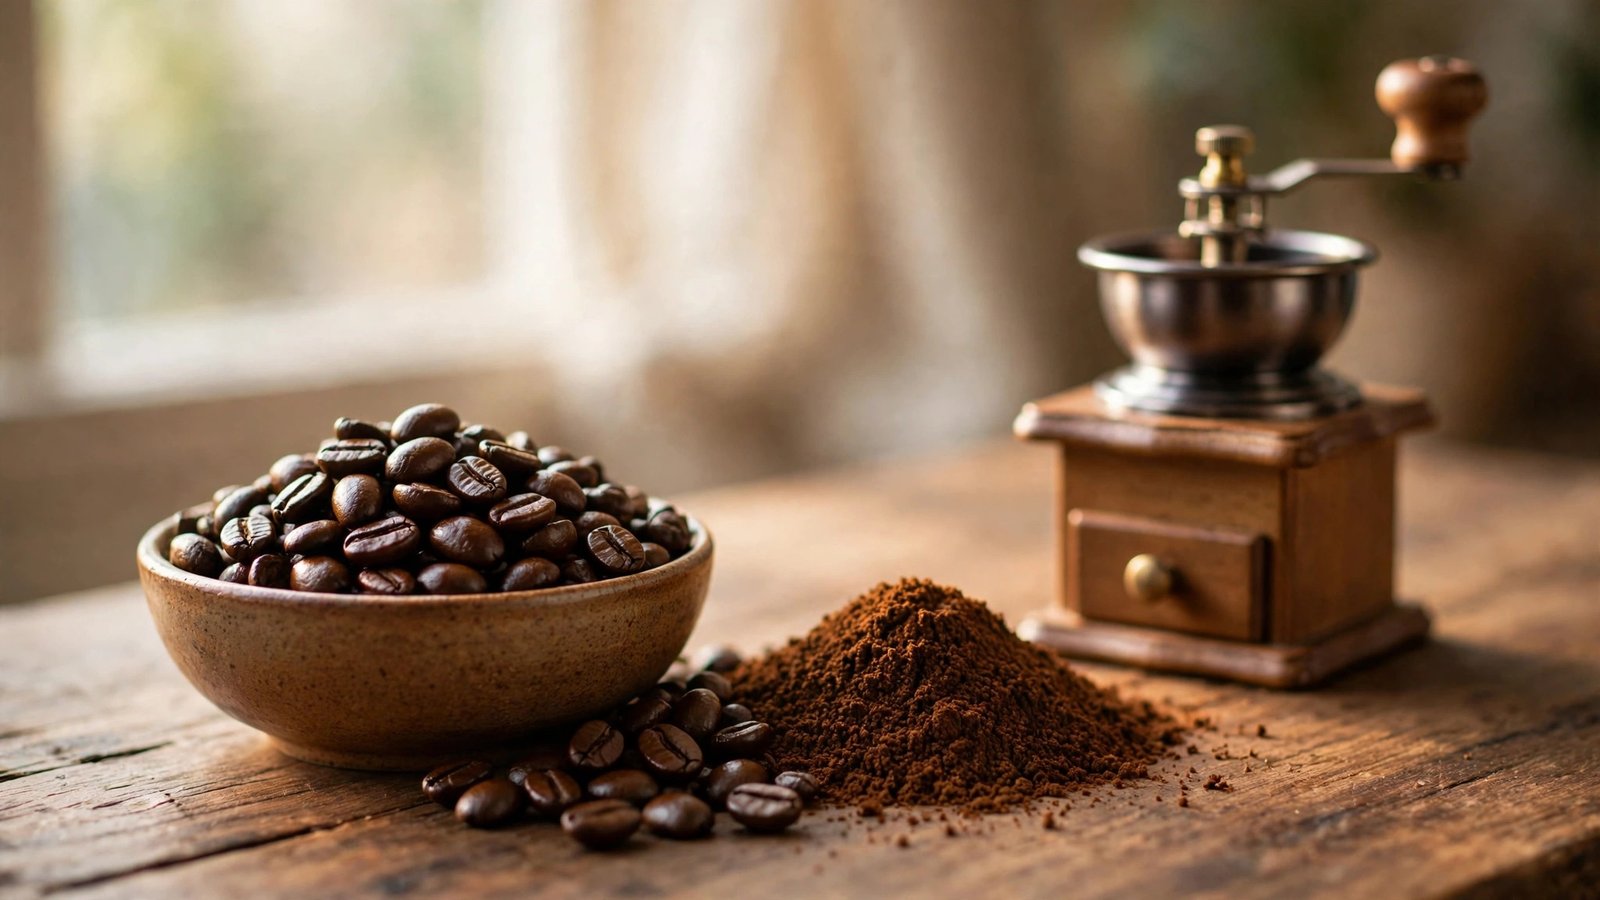
If you grind at home, aim for a burr grinder if you can. Blade grinders chop unevenly, so you get a mix of dust and boulders that brews unevenly. Medium grind — think coarse sand — is the sweet spot for drip machines.
Step 4: Fill the Reservoir With Cold Water
Pour fresh, cold water into the reservoir using the carafe markings. Cold matters: it holds more dissolved oxygen, which helps carry aromatic compounds out of the grounds as it heats. Don’t use hot water from the tap — it can pick up off flavors from your water heater and won’t improve extraction.
Step 5: Brew
Close the lid, seat the carafe properly on the warming plate (it trips the drip-stop valve on most machines), and start the cycle. Most drip machines heat water to 195–205°F automatically, which is right in the ideal range. Cheaper machines sometimes run cooler — if your coffee keeps coming out flat and sour no matter what you adjust, weak heating is the likely culprit, and pre-heating the carafe with hot water can help in the meantime.
When the dripping stops, give the carafe a gentle swirl to even out the flavors, then pour.
Step 6: Serve It Fresh
Drink it right away, or at least within 30 minutes. Coffee left cooking on a hot warming plate turns bitter fast — that’s the scorching people blame on their beans. If you won’t finish the pot, pour the rest into a thermal carafe instead of letting it sit on the burner.
Troubleshooting Table: What’s Wrong With My Cup?
| Problem | Likely cause | Fix |
|---|---|---|
| Bitter | Over-extraction: grind too fine, too much coffee, or coffee scorched on the warming plate | Go a notch coarser; check your ratio; serve promptly off the heat |
| Sour or weak | Under-extraction: grind too coarse, too little coffee, or water too cool | Go a notch finer; add a spoonful of grounds; check the machine heats properly |
| Slow drip / gurgling | Scale buildup in the water lines | Descale now — vinegar-water cycle, then 2–3 plain water cycles |
| Papery taste | Unrinsed paper filter | Rinse the filter with hot water before brewing |
| Flat, muddy flavor | Old beans or stale pre-ground coffee | Grind fresh or buy a smaller, fresher bag |
Cleaning: The Part Everyone Skips
Wash the carafe, brew basket, and any reusable filter with warm soapy water after every use — old coffee oils go rancid and will haunt tomorrow’s pot. Once a month, descale: run a cycle with equal parts white vinegar and water (or a descaling solution), then two or three cycles of plain cold water to rinse the vinegar taste out. Scale slows the brew, drops the temperature, and shortens the machine’s life.
Pro Tips
- Check the roasted-on date. Beans are at their peak roughly 3 to 14 days after roasting. A bag with no roast date is a gamble.
- Buy smaller bags more often. A pound you finish in two weeks beats two pounds that go stale.
- Medium roast is the safe pick for drip. Balanced and forgiving. Light roasts shine too but can taste sharp if your machine runs cool; dark roasts go bitter easily, so grind them a touch coarser.
- Store beans right. Airtight container, cool dark pantry, away from the stove. Not the fridge or freezer.
Related Coffee Topics You May Like
- 10 Best Home Coffee Makers of 2026
- 10 Best French Press Coffee Makers of 2026
- 10 Best Coffee Scales of 2026 (Expert Picks)
- 10 Best Pour Over Coffee Makers in 2026: Top Picks, Beginner Tips, and Eco-Friendly Options
- 10 Best Espresso Machines of 2026 (Top Picks)
- 10 Best Arabica Coffee Beans of 2026 Expert Picks for Flavor and Quality
- 10 Best Coffee Beans for Espresso of 2026
- 5 Best Coffee Machines Under $200 of 2026
Frequently Asked Questions
How many scoops of coffee do I need for 4 cups?
About 8 tablespoons of ground coffee for 4 maker-cups (24 oz of water). A standard coffee scoop holds 2 tablespoons, so that’s 4 scoops. Adjust from there to taste.
Can I use tap water in my drip brewer?
You can, but filtered water makes a cleaner cup. Tap water often carries chlorine and minerals that dull flavor and cause scale to build up inside the machine faster.
Why does my drip coffee taste bitter?
Usually over-extraction — grind too fine, too much coffee for the water, or the coffee sat too long on the hot warming plate. Coarsen the grind a step and pour promptly.
How often should I clean my drip machine?
Rinse the carafe and basket after every use, and descale the insides about once a month. If you notice a slow drip or odd noises, descale immediately.
Can I make coffee in a coffee maker without a filter?
In a pinch, a fine mesh sieve or a clean cloth can stand in, but you’ll get a cloudier cup with sediment. Paper or reusable filters are cheap and worth keeping stocked.
How long does brewed coffee stay good in the pot?
About 30 minutes on the warming plate before it turns bitter from the heat. For longer, move it to a thermal carafe.
Ready to Elevate Your Coffee Game?
Now that you know how to make coffee in a coffee maker like an expert, it is time to upgrade your beans. Explore our curated selection of freshly roasted, single-origin beans and taste the difference today!