
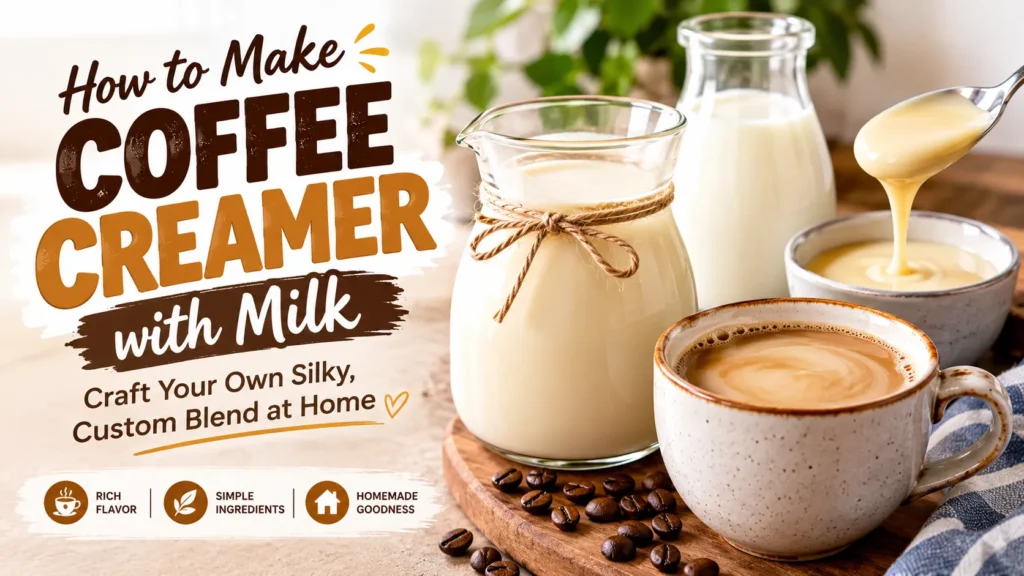
Imagine waking up to a cup of coffee that feels indulgent, yet you know exactly what went into it—no mysterious powders, no preservatives, just pure milk‑based goodness you created yourself. If you’ve ever wondered how to make coffee creamer with milk that rivals store‑bought bottles while letting you control sweetness, flavor, and texture, you’re in the right place. This guide walks you through every step, from ingredient selection to storage, so you can enjoy a personalized creamer every morning.
Key Takeaways
First, homemade creamer lets you avoid artificial additives, high‑fructose corn syrup, and hydrogenated oils that often hide in commercial products. Furthermore, you can tailor the sweetness level to suit your palate, whether you prefer a barely sweet hint or a decadent treat. Moreover, creating your own blend saves money over time, especially if you enjoy flavored creamers regularly.
In addition, the process is surprisingly quick—most recipes come together in under ten minutes, requiring only a saucepan and a whisk. As a result, you can whip up a fresh batch whenever you run low, ensuring you never settle for a bland cup again. Consequently, you gain both health benefits and culinary satisfaction with minimal effort.
The foundation of any milk‑based creamer is, unsurprisingly, milk. You can use whole milk for richness, 2% for a lighter texture, or even skim milk if you’re watching fat content. Additionally, alternatives such as oat, almond, or soy milk work well, though they may alter the final mouthfeel.
Next, a sweetener balances the natural tang of milk. Options include granulated sugar, brown sugar, honey, maple syrup, or low‑calorie substitutes like erythritol or stevia. Furthermore, a pinch of salt enhances flavor depth, while a stabilizer such as a tiny amount of cornstarch or xanthan gum prevents separation during storage.
Finally, flavorings define your creamer’s character. Pure vanilla extract is classic, but you can also incorporate cocoa powder, caramel sauce, hazelnut syrup, cinnamon, nutmeg, or even a dash of espresso powder for a mocha twist. Consequently, the ingredient list stays short yet infinitely adaptable.
You don’t need a professional kitchen to make excellent creamer. A medium‑sized saucepan with a heavy bottom ensures even heating and prevents scorching. Furthermore, a whisk or silicone spatula helps incorporate ingredients smoothly without lumps.
In addition, you’ll need a clean glass jar or bottle with an airtight lid for storage. Sterilizing the container by boiling it for five minutes or running it through a dishwasher cycle guarantees longevity. Moreover, a funnel makes pouring the hot mixture into the jar mess‑free and safe.
Finally, keep a kitchen thermometer handy if you want to monitor the temperature precisely, though it’s optional for most recipes. As a result, you’ll have everything required to produce a silky, stable creamer every time.
This foundational recipe yields about two cups of creamy vanilla milk creamer, perfect for daily use. Begin by gathering 2 cups of whole milk, ¼ cup of granulated sugar, 1 teaspoon of pure vanilla extract, and a pinch of salt. Optionally, add ½ teaspoon of cornstarch mixed with a tablespoon of cold milk to improve thickness.
First, pour the milk into the saucepan and warm it over medium heat, stirring occasionally to prevent a skin from forming. Furthermore, once the milk is steaming but not boiling (around 160°F or 71°C), whisk in the sugar and salt until fully dissolved. Consequently, the mixture should look glossy and uniform.
Next, if using the cornstarch slurry, drizzle it in while whisking vigorously; this prevents clumping and gives the creamer a luxurious body. Furthermore, continue to heat the mixture for another two minutes, ensuring it thickens slightly without reaching a boil. As a result, you’ll notice a velvety texture coating the back of the spoon.
Finally, remove the pan from the heat and stir in the vanilla extract. Allow the creamer to cool to room temperature before transferring it to the sterilized jar using a funnel. Moreover, seal the lid tightly and refrigerate. Consequently, your homemade vanilla coffee creamer is ready to elevate your morning brew.
Once you master the basic vanilla base, experimenting with flavors becomes a delightful ritual. For a caramel version, replace half the sugar with caramel sauce and add a pinch of sea salt for a salted‑caramel twist. Furthermore, a tablespoon of cocoa powder combined with a splash of espresso powder creates a rich mocha creamer that pairs perfectly with dark roast.
In addition, hazelnut lovers can stir in two tablespoons of hazelnut syrup or a teaspoon of hazelnut extract, while coconut enthusiasts might substitute half the milk with coconut milk and add a dash of toasted coconut flakes. Consequently, each variation offers a unique profile while retaining the creamy milk foundation.
Moreover, spiced creamers shine during cooler months. Add a quarter teaspoon of ground cinnamon, a pinch of nutmeg, and a tiny splash of vanilla for a chai‑inspired blend. Furthermore, a few drops of peppermint extract transform the creamer into a festive holiday treat. As a result, you can rotate flavors weekly to keep your coffee routine exciting.
Proper storage is crucial to maintain flavor and prevent spoilage. Always keep your creamer in a tightly sealed glass jar in the refrigerator, where it stays fresh for up to 14 days. Furthermore, label each jar with the preparation date and flavor variant to avoid confusion.
In addition, give the jar a gentle shake before each use, as natural separation may occur over time. Consequently, a quick stir restores the silky consistency. If you notice any off‑smell, curdling, or mold, discard the batch immediately—safety first.
Moreover, for longer preservation, consider freezing the creamer in ice‑cube trays. Once frozen, transfer the cubes to a freezer‑safe bag; they’ll keep for three months and can be thawed overnight in the fridge when needed. As a result, you’ll never waste a batch, even if you make a large quantity.
Even simple recipes can encounter hiccups. If your creamer separates after cooling, it’s likely due to insufficient emulsification; try increasing the whisking time or adding a touch more stabilizer like xanthan gum. Furthermore, a grainy texture usually means the sugar didn’t dissolve fully—ensure the milk is hot enough before adding sweeteners.
In addition, if the creamer tastes overly sweet or bland, adjust the sweetener level or boost the flavor extract incrementally; remember that flavors intensify slightly after chilling. Consequently, tasting after cooling and making small adjustments yields the best balance.
Moreover, a thin consistency can be remedied by simmering the mixture a bit longer or increasing the cornstarch ratio. Conversely, if the creamer becomes too thick, thin it with a splash of warm milk and whisk thoroughly. As a result, you’ll achieve the perfect pourable texture every time.
Making your own creamer lets you control nutritional content. For instance, using skim milk reduces fat while preserving protein, and substituting sugar with stevia cuts calories significantly. Furthermore, adding a spoonful of collagen powder or a dash of turmeric can boost health benefits without compromising taste.
In addition, be mindful of portion sizes—two tablespoons of creamer add roughly 30‑50 calories depending on ingredients. Consequently, tracking your intake helps you enjoy indulgent coffee without derailing dietary goals. Moreover, those with lactose intolerance can opt for lactose‑free milk or plant‑based alternatives, ensuring everyone can enjoy a customized creamer.
Finally, because you avoid preservatives, your creamer may have a shorter shelf life, but this trade‑off guarantees a cleaner label. As a result, you gain peace of mind knowing exactly what fuels your morning ritual.
Your milk‑based creamer isn’t limited to coffee alone. Try swirling it into hot chocolate for an extra velvety finish, or use it as a base for homemade lattes and frappés. Furthermore, a spoonful can enrich oatmeal, pancake batter, or chia pudding, adding creaminess and subtle flavor.
In addition, the creamer works well in baked goods—replace part of the milk in muffin or cake recipes with your vanilla or caramel version for a moist, fragrant crumb. Consequently, you’ll find yourself reaching for the jar throughout the day, not just at breakfast.
Moreover, consider gifting small bottles tied with a ribbon as a thoughtful, homemade present for friends who love coffee. As a result, your creations spread joy beyond your kitchen, showcasing the versatility of a simple milk‑based creamer.
Absolutely. You can omit sugar entirely and rely on natural sweetness from ingredients like vanilla extract, cinnamon, or a splash of fruit puree. Alternatively, use zero‑calorie sweeteners such as stevia or monk fruit blend to keep the creamer sweet without added sugar.
When stored in a clean, airtight glass jar and kept refrigerated, homemade milk creamer stays fresh for 10 to 14 days. Always check for any off‑odors, separation that doesn’t reincorporate, or signs of mold before use.
Yes. Non‑dairy milks such as oat, almond, soy, or coconut work well, though they may produce a slightly thinner texture. To compensate, consider adding a bit more stabilizer (like xanthan gum) or increasing the fat content with a tablespoon of melted coconut oil.
Sterilizing the jar reduces the risk of bacterial growth and extends shelf life. Boiling the jar and lid for five minutes or running them through a hot dishwasher cycle is sufficient. Let them air dry on a clean towel before filling.
Freezing is possible. Pour the creamer into ice‑cube trays, freeze solid, then transfer the cubes to a freezer‑safe bag. Thaw overnight in the refrigerator and give it a good shake or stir before using. Note that texture may change slightly after freezing, but flavor remains intact.
Start crafting your own milk‑based creamer today and taste the difference of pure, homemade goodness.
Learning how to make coffee creamer with milk empowers you to enjoy a richer, healthier, and more personalized coffee experience without relying on store‑bought additives. By selecting quality milk, balancing sweeteners, and exploring endless flavor variations, you create a creamer that truly reflects your taste preferences.
Furthermore, the straightforward process—heating, mixing, flavoring, and storing—fits easily into any morning routine, while proper storage ensures your creamer stays fresh and safe. Consequently, you gain both convenience and culinary creativity with every batch you prepare.
In addition, the ability to adjust nutritional content, experiment with non‑dairy bases, and repurpose the creamer in various recipes extends its value far beyond the coffee mug. As a result, your homemade creamer becomes a versatile staple in your kitchen arsenal.
Finally, remember that the joy of making your own creamer lies in the experimentation. Try new spices, swap sweeteners, or combine flavors until you discover your signature blend. Consequently, each cup of coffee becomes a celebration of your own craftsmanship, turning a simple habit into a delightful ritual.



Contact Us Jump To How to Make Coffee Cold Foam: Master the Art of Silky, Café‑style Topping at Home Ever wondered how baristas create that velvety crown atop your iced latte? Learning how to make coffee cold foam is easier than you think, and…
Contact Us Jump To How to Make Coffee Creamer with Heavy Cream: a Simple, Rich Recipe for Your Morning Brew Key Takeaways: Heavy cream creates a luxuriously smooth, velvety coffee creamer that blends seamlessly with hot or cold coffee. Only three basic ingredients are…

Explore the world of coffee with honest reviews and practical advice. Find your perfect cup, one bean and machine at a time.