
How to Make Coffee at a Campsite: Savoring the Perfect Brew under the Stars
Jump To
How to Make Coffee at a Campsite: Savoring the Perfect Brew under the Stars
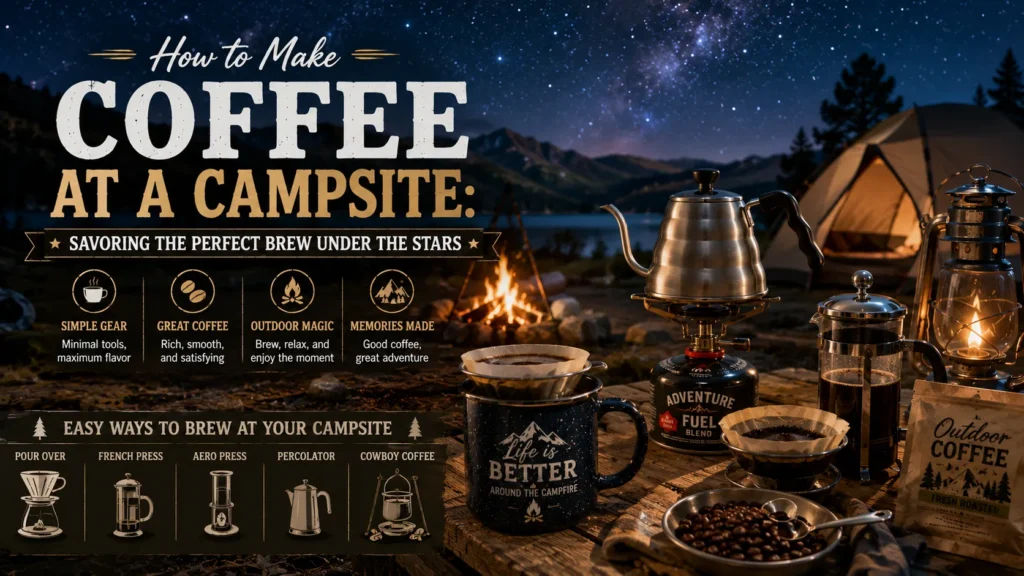
Imagine waking up to the crisp morning air, the scent of pine trees, and the promise of a steaming cup of coffee that fuels your adventure. How to Make Coffee at a Campsite is a question every outdoor enthusiast asks when the sunrise paints the sky and the campfire crackles. In this guide, you’ll discover simple, reliable methods to brew rich coffee without sacrificing flavor or convenience, ensuring each sip enhances your wilderness experience.
Key Takeaways
- Choose a brewing method that matches your gear and campsite conditions.
- Freshly ground beans and proper water temperature are essential for great taste.
- Pre‑measure coffee and water to avoid guesswork in the wild.
- Keep your equipment clean and pack out all waste to protect the environment.
- Experiment with additives like cinnamon or cocoa for a personalized campfire twist.
Why Coffee Matters When Camping
Coffee does more than wake you up; it creates a ritual that centers your day in nature. Furthermore, the warmth of a mug can combat chilly mornings at high elevations. Moreover, sharing a pot fosters camaraderie among fellow campers. As a result, a good brew becomes a cornerstone of memorable outdoor trips.
Essential Gear for Campfire Coffee
Before you head into the woods, assemble a lightweight coffee kit that fits your backpack. In addition, consider the type of fire source you’ll have—whether a portable stove, a campfire, or a flameless heater. Consequently, your gear choices will directly affect brew quality and ease of preparation.
Choosing the Right Brewing Method
Several methods shine in a campsite setting, each with distinct advantages. For instance, a French press offers full‑bodied flavor with minimal equipment. Alternatively, a pour‑over dripper delivers clean, bright notes and is easy to clean. Meanwhile, a percolator evokes nostalgic campfire charm and works well over open flames. Therefore, match your method to your taste preferences and the heat source available.
Portable Grinders and Fresh Beans
Grinding beans just before brewing preserves volatile aromatics that stale quickly. Consequently, a small manual burr grinder fits neatly in a side pocket and delivers consistent particle size. Furthermore, opt for beans roasted within the last two weeks for optimal flavor. As a result, you’ll notice a richer cup even when brewing with limited water temperature control.
How to Make Coffee at a Campsite
Now we arrive at the core of this guide: the step‑by‑step process for brewing coffee outdoors. Follow these stages carefully, and you’ll replicate café‑quality results despite the rustic setting.
Step 1: Prepare Your Water
Start by filling a clean pot or kettle with fresh water from a trusted source. Furthermore, if you’re using untreated water, bring it to a rolling boil for at least one minute to eliminate pathogens. Consequently, let the water cool slightly to around 93‑96 °C (200‑205 °F), the ideal range for extraction. In addition, using a thermometer ensures precision, but a simple visual cue—small bubbles forming at the edges—works well in a pinch.
Step 2: Measure Your Coffee
Consistency begins with accurate dosing. Furthermore, a standard ratio is 1 to 15 (coffee to water) by weight, which translates to roughly 2 tablespoons of ground coffee per 6 oz of water. Consequently, pre‑measure your coffee into a small resealable bag or a dedicated scoop to avoid fumbling in low light. Moreover, adjust the ratio to taste; stronger brews suit bold palates, while lighter ratios highlight delicate notes.
Step 3: Combine and Bloom
Place the ground coffee in your chosen brewer. Furthermore, pour just enough hot water to saturate the grounds—about twice the weight of the coffee—and wait 30 seconds. Consequently, this bloom releases trapped carbon dioxide, allowing for even extraction. In addition, stirring gently ensures all particles are wetted, preventing dry pockets that can cause bitterness.
Step 4: Brew According to Method
Now proceed with the specific technique you selected. For a French press, pour the remaining water, place the lid, and steep for four minutes before pressing slowly. Consequently, for a pour‑over, continue pouring in a slow spiral, maintaining the water level just above the grounds until you reach the target volume. Meanwhile, a percolator requires cycling water through the grounds for five to eight minutes, watching the color deepen. As a result, each method yields a distinct cup profile suited to different preferences.
Step 5: Serve and Enjoy
Once brewing is complete, pour the coffee into your favorite mug. Furthermore, consider adding a splash of milk, a pinch of sugar, or a dash of cinnamon to enhance flavor. Consequently, take a moment to inhale the aroma and savor the first sip while listening to the forest awaken. Moreover, if you’re camping with others, share the pot and exchange stories about the day’s plans.
Tips for Enhancing Flavor in the Wild
Even with limited equipment, you can elevate your camp coffee. Furthermore, storing beans in an airtight, opaque container protects them from light and moisture. Consequently, adding a small pinch of salt to the grounds can neutralize bitterness caused by over‑extraction. In addition, experimenting with spices like cardamom or nutmeg introduces exciting regional twists. As a result, your coffee becomes a personalized expression of your camping style.
Common Mistakes to Avoid
Novice campers often encounter pitfalls that compromise taste. Furthermore, using water that’s too hot extracts undesirable compounds, leading to a burnt flavor. Consequently, letting water boil too long reduces oxygen, which can flatten the cup. Moreover, skipping the bloom step results in uneven extraction and sour notes. As a result, attention to temperature and timing dramatically improves consistency.
Eco‑Friendly Practices
Enjoying coffee outdoors carries a responsibility to preserve the environment. Furthermore, pack out all used grounds, filters, and packaging; they can attract wildlife if left behind. Consequently, consider using a reusable metal filter or a cloth sock to reduce waste. Moreover, choose biodegradable soap for cleaning your gear, and wash at least 200 feet from water sources. As a result, you leave the campsite as pristine as you found it.
Related Coffee Topics You May Like
Frequently Asked Questions
What is the best coffee-to-water ratio for campsite brewing?
A reliable starting point is 1 gram of coffee for every 15 grams of water, roughly 2 tablespoons of grounds per 6 oz of water. Adjust upward for a stronger cup or downward for a lighter brew, depending on personal taste and the beans’ roast level.
Can I use regular instant coffee while camping?
Yes, instant coffee is convenient and requires only hot water, making it ideal for ultralight trips. However, for richer flavor and aroma, freshly ground beans paired with a simple brewer like a French press or pour‑over deliver a superior experience worth the extra weight.
How do I keep my coffee hot for longer periods?
Transfer the brewed coffee to a vacuum‑insulated thermos immediately after brewing. Pre‑warming the thermos with hot water for a minute helps retain heat. Additionally, wrapping the thermos in a cloth or placing it inside your sleeping bag can extend warmth for several hours.
Is it safe to brew coffee directly over a campfire flame?
Brewing over an open flame is safe if you use a sturdy, heat‑proof pot and keep a safe distance from the flames to avoid scorching. Use a grate or tripod to stabilize the pot, and never leave it unattended. Adjust the heat by moving the pot closer to or farther from the coals as needed.
What should I do with used coffee grounds?
Pack out used grounds in a sealed bag to prevent attracting animals. If local regulations permit, you can scatter them sparingly far from water sources and trails, as they decompose quickly and add nitrogen to the soil. Always follow Leave No Trace principles.
Ready to Elevate Your Camping Coffee?
Download our free printable checklist that lists every item you need for the perfect campsite brew, from grinder to mug. Click here to get your checklist now and start your next adventure with a perfect cup in hand.
In conclusion, mastering How to Make Coffee at a Campsite transforms a simple morning routine into a highlight of your outdoor journey. Furthermore, by selecting the right gear, measuring precisely, and respecting nature, you ensure each cup tastes as good as the scenery. Consequently, your campsite will become synonymous with great coffee, great company, and unforgettable memories under the open sky.

Moses Anthony
Moses Anthony is a coffee enthusiast and home brewing specialist with over 7 years of hands-on experience testing coffee beans, espresso machines, grinders, and brewing methods. He has spent years experimenting with pour-over, French press, drip coffee, and espresso to help everyday coffee drinkers brew better coffee at home.At Best Coffee Guide, Moses focuses on practical brewing tips, honest product comparisons, and beginner-friendly coffee education based on real testing and research. His goal is to simplify coffee brewing and help readers make better choices with confidence.
How to Make Coffee Easy: Effortless Tips for Barista‑level Brew at Home
September 17, 2026
No Comments
Read More » Mastering the Art: How to Make Coffee Darker for a Richer, Bold Brew
September 16, 2026
No Comments
Read More » 
How to Make Coffee Dip: Easy Steps to Create a Rich, Coffee-infused Spread
September 15, 2026
No Comments
Read More » Latest Pots
Imagine waking up, craving a rich cup, but feeling overwhelmed by complicated machines and vague recipes. You want great coffee without the fuss, and you deserve a method that works every single time. This guide shows you exactly how to make coffee easy, turning morning…
Many coffee lovers crave a cup that looks as deep and intense as its flavor promises. If your brew often turns out light or washed out, you’re not alone—achieving that striking darkness involves more than just adding extra grounds. In the next few paragraphs we’ll…

Explore the world of coffee with honest reviews and practical advice. Find your perfect cup, one bean and machine at a time.
Main Menu
Top Categories
Newsletter
Sign up our newsletter to get updated information, promo or insight for free.
Copyright © 2025 Best Coffee Guide, All rights reserved.