
Grinding coffee beans at home is the single fastest way to improve your cup: use a burr grinder, match the grind size to your brew method, and grind right before you brew. Pre-ground coffee goes stale in hours; whole beans stay fresh for weeks.
That’s really the whole secret. The rest of this guide walks you through choosing a grinder, picking the right grind size for espresso, drip, French press, and pour-over, and what to do when you don’t own a grinder at all.
Why Grind Your Own Beans?
Whole beans hold their aroma and natural oils inside until they’re cracked open. Once coffee is ground, all that surface area meets air and the flavour fades fast — noticeably within a day or two. Grinding just before brewing keeps your coffee tasting the way the roaster intended.
There’s a second, practical reason: control. Pre-ground bags come in one size, but your brew method has an opinion. Espresso needs powder-fine grounds; a French press needs coarse chunks. Own your grind and every brewer you own suddenly works better.
Blade Grinder vs Burr Grinder: Which One Do You Need?
A burr grinder crushes beans between two ridged surfaces, producing even particles at whatever size you dial in. It’s the right tool for almost everyone and the only sensible choice if you brew espresso or pour-over regularly. A decent entry-level manual or electric burr grinder costs far less than most people expect.
A blade grinder works like a tiny blender, chopping beans unevenly into a mix of dust and boulders. That mix extracts unevenly — the dust over-extracts and tastes bitter while the big pieces under-extract and taste sour, often in the same cup. If a blade grinder is all you have, pulse in short bursts and shake between pulses to even things out. It’s a stopgap, not a solution.
Coffee Grind Size Chart: Match Grind to Brew Method
| Brew method | Grind size | Feels like |
|---|---|---|
| Turkish coffee | Extra fine | Flour |
| Espresso | Fine | Powdered sugar |
| Moka pot | Fine–medium | A little coarser than sugar |
| Pour-over (V60, Chemex) | Medium-fine | Sand |
| Drip coffee maker | Medium | Coarse sand |
| French press | Coarse | Sea salt |
| Cold brew | Extra coarse | Peppercorns |
The logic is simple: the longer water touches the coffee, the coarser the grind should be. A French press steeps for four minutes, so coarse grounds keep it smooth. Espresso pushes water through in about 25 seconds, so fine grounds slow the flow enough to build flavour and crema.
How to Grind Coffee Beans with a Grinder (Step by Step)
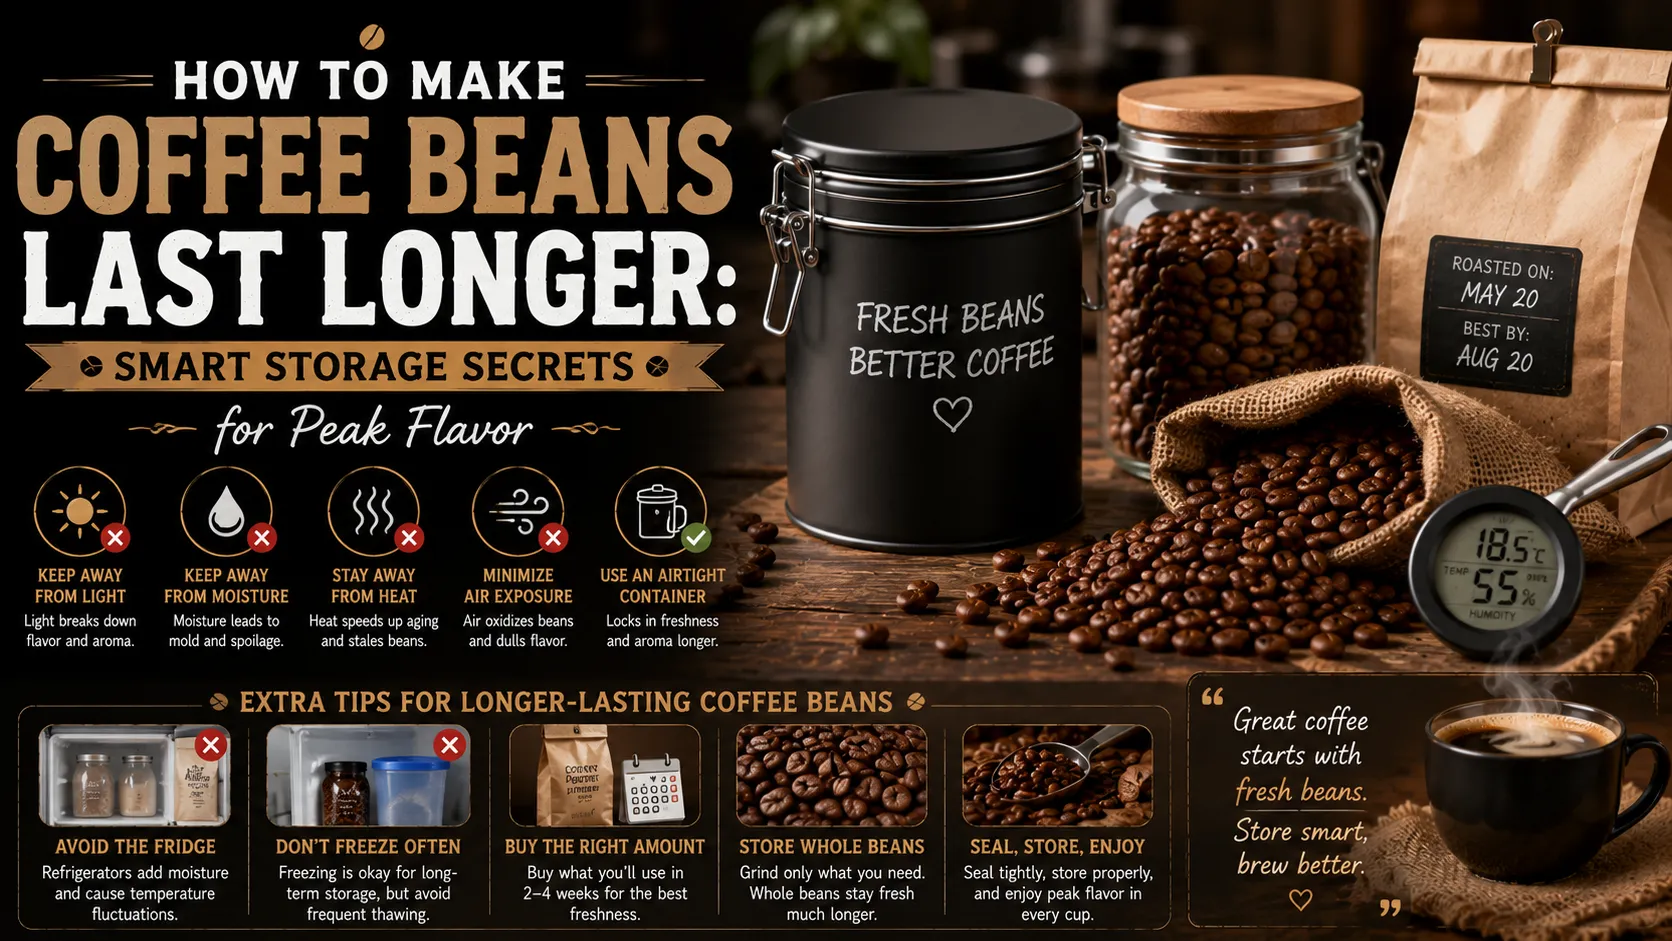
- Start with fresh beans. Buy beans roasted within the last few weeks and store them in an airtight container away from light, heat, and moisture. Don’t store them in the fridge or freezer for daily use — temperature swings cause condensation.
- Weigh or measure what you need. A good starting ratio is 1:16 — one gram of coffee for every 16 grams (about 16 ml) of water. For a single cup that’s roughly 15 grams of beans, or about two tablespoons of ground coffee. Adjust to your taste from there.
- Grind only what you’ll brew now. Grounds lose their aroma quickly, so grind right before the water goes on.
- Set your grind size using the chart above as a starting point.
- Taste and adjust. This is the important part: if your coffee tastes sour or thin, grind finer next time. If it tastes bitter or dry, grind coarser. Change one variable at a time and give each adjustment a brew or two before judging it.
How to Dial In Your Grind
Don’t chase someone else’s recipe settings — every grinder’s numbers differ, and even the same beans taste different at different ages. Use your tongue:
- Sour, salty, or thin? Under-extracted. Go finer.
- Bitter, harsh, or dry? Over-extracted. Go coarser.
- Weak but not sour? That’s a ratio problem, not a grind problem. Add more coffee.
- Muddy cup in a French press? Your grind is too fine — go coarser.
Small steps matter. One notch on a burr grinder can noticeably change a pour-over.
How to Grind Coffee Beans Without a Grinder
No grinder? You still have options. None of them match a burr grinder for consistency, but they’ll get coffee into your cup:
- Mortar and pestle. Slow but genuinely controllable. Work in small batches and grind to a medium-coarse texture. This is the best no-grinder method for French press and drip.
- Rolling pin. Seal beans in a sturdy zip bag, press out the air, and roll firmly and evenly. Expect an uneven grind — fine for French press, less so for drip.
- Blender or food processor. Pulse in short 5-second bursts and shake between rounds so the beans redistribute. Let it cool for a minute between rounds so the motor’s heat doesn’t cook the beans. The grind will be uneven, so use it for immersion methods like French press.
- Hammer. As a last resort, bag the beans and tap — don’t smash — until they’re broken into coarse pieces. Messy, uneven, but it works.
Keep Your Grinder Working Well
Coffee leaves behind oils and stale residue that turn rancid and make everything you grind taste off. Clean a burr grinder every couple of weeks: remove the beans, take the hopper and burrs apart if your model allows it, and brush out the grounds with a soft brush. A few uncooked rice grains run through the grinder can help clear stubborn residue on blade grinders — just run rice through only if your manual says it’s safe. Never wash grinder parts with soap unless the manufacturer says so; water and electric motors don’t mix.
Common Grinding Mistakes to Avoid
- Grinding too far ahead. Grind right before brewing. Ground coffee from yesterday is already a shadow of itself.
- Using one grind for everything. Espresso grounds in a French press make sludge; French press grounds in espresso make a watery, sour shot.
- Never adjusting. Your recipe was a starting point. If the cup’s off, move the grind before you blame the beans.
- Grinding flavoured or very oily beans without cleaning. They leave residue that flavours every batch after them.
- Storing beans in the hopper for days. Sunlight and air hit the hopper; the bag or a sealed container is better.
FAQs
Can I grind coffee beans in a blender?
Yes, in a pinch. Pulse in short bursts, shake the jar between rounds to redistribute the beans, and let the motor cool so heat doesn’t bake the grounds. Expect an uneven grind, so stick to forgiving methods like a French press or drip.
How many coffee beans should I grind for one cup?
Around 15 grams of beans — roughly two tablespoons of ground coffee — for a standard 240 ml cup, following a 1:16 coffee-to-water ratio. Make it stronger or weaker by adjusting the amount of coffee, not the grind size.
Do baristas spray water on beans before grinding?
Some do. A light mist of water — called the Ross Droplet Technique — reduces static so grounds don’t cling and fly around the grinder. It’s a cleanliness trick, not a flavour trick, and you only need a drop or two.
Blade or burr grinder — does it really matter?
Yes. A burr grinder produces even particles, which means even extraction and a balanced cup. A blade grinder makes dust and boulders, so one cup can taste bitter and sour at the same time. If you care about taste, a burr grinder is the upgrade that matters most.
How long do ground coffee beans stay fresh?
Ground coffee starts losing noticeable aroma within hours and tastes clearly stale within a day or two. Whole beans kept sealed and away from light stay fresh for two to four weeks after roasting. That’s the whole argument for grinding at home.
What grind is best for a drip coffee maker?
Medium — about the texture of coarse sand. Too fine and the water drips through too slowly, tasting bitter; too coarse and it rushes through, tasting weak and thin.
The Bottom Line
Learning how to grind coffee beans is mostly about two habits: grind fresh and grind to match your brewer. A burr grinder gets you even particles, the chart above gets you in the right ballpark, and your own taste buds do the fine-tuning. Do that consistently and your coffee will improve more than any new gadget would.