
Wondering how do i use a keurig coffee machine? It’s about as simple as coffee gets: fill the water tank, pop in a K-Cup pod, set your mug in place, pick a cup size, and hit brew. You’ll have a hot cup in about a minute — no measuring, no filters, no carafe to wash.
That’s the whole idea behind a Keurig. It’s a single-serve brewer that uses small sealed pods called K-Cups. Each pod holds pre-measured coffee grounds, so your cup tastes pretty much the same every time, whether you brew at 6 in the morning or 6 in the evening.
First things first: setting up a brand-new Keurig
Before your first real cup, give the machine a quick once-over. New brewers can have a bit of dust or packaging smell inside the water line, and it takes two minutes to sort out.
- Take off all the tape, plastic, and stickers. Set the drip tray aside.
- Wash the water reservoir, lid, and drip tray in warm soapy water. Rinse well and dry.
- Fill the reservoir with clean water and push it firmly back into the machine.
- Turn the brewer on and run one brew cycle with no pod in the holder. This is called a cleansing brew, and it flushes the inside of the machine so your first coffee tastes like coffee, not plastic.
How to brew a cup, step by step
This works the same on almost every Keurig model, with only small differences.
- Fill the water reservoir. Fresh, filtered water tastes best and slows down mineral buildup. Only ever put water in there — never milk, juice, or anything else.
- Power on and let it heat. Most models take 30 seconds to a couple of minutes. The brew button usually lights up when it’s ready.
- Lift the handle and drop in a K-Cup. Place the pod foil-side up in the pod holder.
- Close the handle firmly. This pushes the machine’s needles through the top and bottom of the pod. If the handle isn’t fully closed, the brewer may refuse to start.
- Put your mug on the drip tray. Check that it’s tall enough for the size you’re about to brew — a small mug plus a 12 oz setting ends in a mess.
- Pick your cup size, then press brew. Smaller sizes brew stronger coffee, larger sizes brew milder coffee.
- Remove the used pod. Lift the handle and take the pod out. It’ll be hot, so give it a moment before tossing it.
What cup size should you pick?
Cup size is really just a strength control. The pod holds the same amount of coffee no matter what, so more water means a lighter cup.
| Cup size | Strength | Best for |
|---|---|---|
| 6 oz | Strong | A bold morning cup, or the base for a latte-style drink |
| 8 oz | Balanced | The everyday sweet spot for most people |
| 10 oz | Mild | A bigger, gentler cup |
| 12 oz | Light | When you want lots of coffee but not much punch |
Coffee tastes watery? Drop down a size. Too strong? Go up a size or add milk after brewing.
A quick word on the popular models
K-Classic is the standard home model. It has a big reservoir and three brew sizes (6, 8, 10 oz). Controls are dead simple — power, size buttons, brew.
K-Mini is built for tight spaces: dorm rooms, bedrooms, small kitchens. It doesn’t store water. You pour in exactly the water you want for one cup, then brew. Your cup size is literally how much water you added.
K-Duo does double duty. It brews single cups with K-Cup pods, and it also brews a full carafe with regular ground coffee. For a carafe, add grounds to the filter basket, set the carafe on the warming plate, choose the number of cups, and brew. Handy for households where one person wants a quick cup and everyone else wants a pot.
Some compact Keurigs barely have buttons at all — on these, brewing can start automatically once the lid closes and everything is detected. If nothing happens, check three things: power, water level, and whether the handle is closed all the way. That’s what causes most “it’s not working” moments.
Can you put milk in a Keurig?
No — don’t do it. Keurig brewers are built to heat and push water only. Milk can burn inside the tubes, clog the needles, leave a sour smell, and damage the machine. It’s also a pain to clean out.
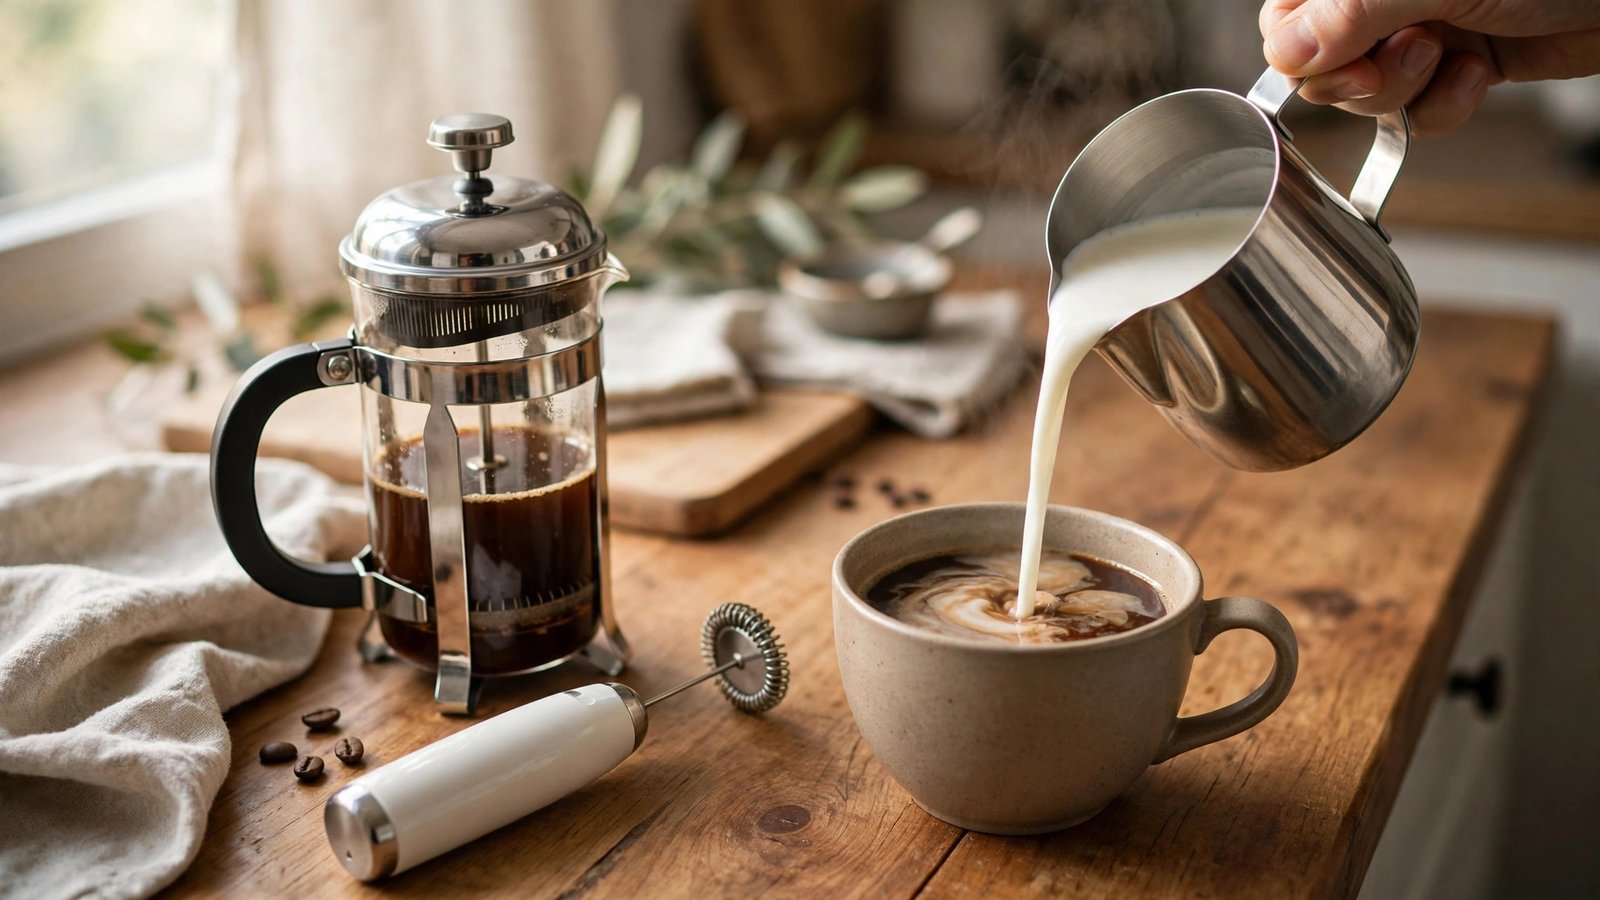
The fix is easy: brew your coffee first, then add milk to the cup. Cold, warm, or steamed — whatever you like. For a latte-style drink, brew a 6 oz cup on the strongest setting and stir in warm milk. If you have a K-Café model or a separate milk frother, you can add foam on top.
How to use a Keurig without pods
Grab a reusable K-Cup filter — a small refillable basket that fits in the pod holder. Fill it with your own ground coffee, snap it shut, and brew like normal. It’s cheaper over time and lets you use any coffee you like.
A few tips that save trouble:
- Use 1 to 2 tablespoons of ground coffee. One for a lighter cup, closer to two for stronger.
- Don’t pack it down. Water needs room to flow through.
- Medium grind works best. Very fine grounds can clog the filter; very coarse grounds brew weak.
- Rinse the filter after every use so old coffee doesn’t go stale in it.
Some people reuse empty K-Cup pods by filling them with grounds and covering them with foil. It works in a pinch, but grounds can slip into the machine and block the needle — a reusable filter is a far better bet for everyday use.
Keurig coffee tastes weak? Here’s why
The most common reason is a large cup size with a mild pod — lots of water through a little coffee. Other usual suspects: old pods stored somewhere warm, or a machine that’s overdue for cleaning.
Try this: switch to a dark roast pod, brew at 6 or 8 oz, and clean the machine if it’s been a while. A clogged needle slows water flow and makes the coffee taste thin.
Keurig not brewing at all?
Work through these in order:
- Water reservoir — is there enough water, and is it pushed in all the way? A loose reservoir stops brewing cold.
- The pod holder and needles — grounds can block the needle. Unplug the machine, then carefully clear the needle with a paper clip or the cleaning tool that came with your brewer.
- Scale buildup — hard water leaves minerals inside. If the machine has gone slow, noisy, or won’t fill a full cup, it’s probably time to descale.
How to clean and descale your Keurig
For everyday care: rinse the drip tray and pod holder regularly, wash removable parts in warm soapy water, and wipe the outside with a damp cloth. Never dunk the whole machine in water — it’s full of electrical parts.
Descaling flushes mineral buildup from inside the machine. Fill the reservoir with Keurig descaling solution (a vinegar-water mix works on most models too — check your manual), then run brew cycles without a pod until the reservoir is empty. Refill with clean water and run several more cycles to rinse.
How often? Every 3 to 6 months is the general rule. Daily brewers in hard-water areas should lean toward 3.
What water should you use?
Filtered tap water is the best all-rounder — it tastes good and causes less buildup. Plain tap water is fine if yours doesn’t smell or taste off. One caveat: skip distilled water unless your manual says otherwise, since some Keurigs need the minerals in water to sense the reservoir level.
Is Keurig coffee expensive?
Per cup, yes — K-Cup pods cost more than scooping coffee from a bag. But for a one-cup-a-day drinker, Keurig often wastes less: no half pots poured down the sink. If cost bothers you, the reusable K-Cup filter brings the per-cup price right back down while keeping the convenience.
FAQs about using a Keurig coffee machine
How do I use a Keurig coffee machine for the first time?
Wash the removable parts, fill the reservoir, and run one cleansing brew with no pod. Then add a K-Cup, place your mug, choose your size, and press brew.
Can I put milk in my Keurig instead of water?
No. Keurigs are designed for water only — milk can burn, clog the tubes, and damage the brewer. Add milk to your cup after brewing.
Can I use regular coffee in a Keurig?
Yes, with a reusable K-Cup filter. Add 1–2 tablespoons of medium-grind coffee, don’t pack it down, and brew like normal.
Why does my Keurig coffee taste watery?
Usually the cup size is too big for the pod, the pod is old or mild, or the machine needs cleaning. Try a smaller brew size and descale the machine.
How often should I clean my Keurig?
Rinse removable parts weekly and descale every 3 to 6 months. Daily users should stick to the shorter end of that range.
How long does a Keurig coffee machine last?
Most Keurigs last around 3 to 5 years with regular use and proper cleaning. Routine descaling is the single biggest thing you can do to stretch that.
Final thoughts
That’s really all there is to it: water, pod, mug, size, brew. Once you’ve done it once, it becomes pure muscle memory. Use clean filtered water, pick the cup size that matches how strong you like your coffee, and keep the machine descaled — your Keurig will repay you with years of quick, no-fuss cups.
Related guides
- Best Espresso Machines
- Best French Press Coffee Makers
- Best Pour Over Coffee Makers
- Best Coffee Beans for Espresso
- Best Coffee Scales