
How to Make Homemade Coffee Creamer (Easy 3-Ingredient)
You can make homemade coffee creamer with just two things: sweetened condensed milk and milk (or cream). Warm them together gently, stir in your favourite flavour, and you’re done — five minutes, no preservatives, no weird aftertaste.
Once you have the base down, the fun starts. The same recipe turns into vanilla, caramel, hazelnut, or pumpkin spice creamer with one or two small tweaks, which I’ll walk you through below.
Why Bother Making Your Own Creamer?
Honestly? Two reasons: what’s in it, and what it costs.
Most shop-bought creamers lean on artificial flavours, thickeners, and a lot of added sugar to survive months on a shelf. A homemade coffee creamer skips all of that. You get real milk, real sweetness, and a flavour that tastes like the thing it claims to be — not a lab version of it.
It’s also kinder to your wallet. One can of sweetened condensed milk makes a generous batch that lasts more than a week, for a fraction of what a bottle of flavoured creamer costs.
The Base Ingredients
You only need three things for the classic version:
- Milk or cream — whole milk works nicely; half-and-half or light cream makes it richer
- Sweetened condensed milk — this is what sweetens and thickens the creamer in one go
- Vanilla extract — or any flavouring of your choice
No special equipment. A saucepan and a whisk are plenty.
How to Make Homemade Coffee Creamer: Step by Step
- Warm the milk. Pour 1 cup of milk (or half-and-half) into a small saucepan over low heat. You want it warm — gentle steam is fine — but never boiling. Boiling changes the texture and can make the milk split.
- Add the condensed milk. Whisk in about 3/4 cup of sweetened condensed milk. Keep stirring until it dissolves completely and the mixture looks smooth.
- Take it off the heat. Remove the pan and let it cool for a couple of minutes.
- Add flavour. Stir in 1 teaspoon of vanilla extract (or your chosen flavouring). Adding it off the heat keeps the aroma from cooking off.
- Bottle it. Pour into a clean glass bottle or jar with a tight lid and refrigerate.
Shake well before each use, since the condensed milk can settle a little. That’s it — coffee-shop-style creamer in about five minutes.
5 Flavour Variations From the Same Base
The base above is your starting point. For each variation, just adjust step 4:
1. Classic Vanilla
Add 1 teaspoon of vanilla extract. Simple, and still the most popular for a reason — it lifts the coffee without taking over.
2. Caramel
Stir 2–3 tablespoons of caramel sauce into the warm base along with the condensed milk. Use a good-quality sauce; cheap ones can taste burnt once diluted.
3. Hazelnut
Add 1 teaspoon of hazelnut extract in place of vanilla. A little goes a long way — taste and adjust rather than pouring in extra.
4. Pumpkin Spice (Autumn Favourite)
Add 1 teaspoon of pumpkin spice blend plus 1/2 teaspoon of cinnamon to the warm mixture, then finish with vanilla. Strain through a fine sieve if the spices don’t fully dissolve.
5. Chocolate Mocha
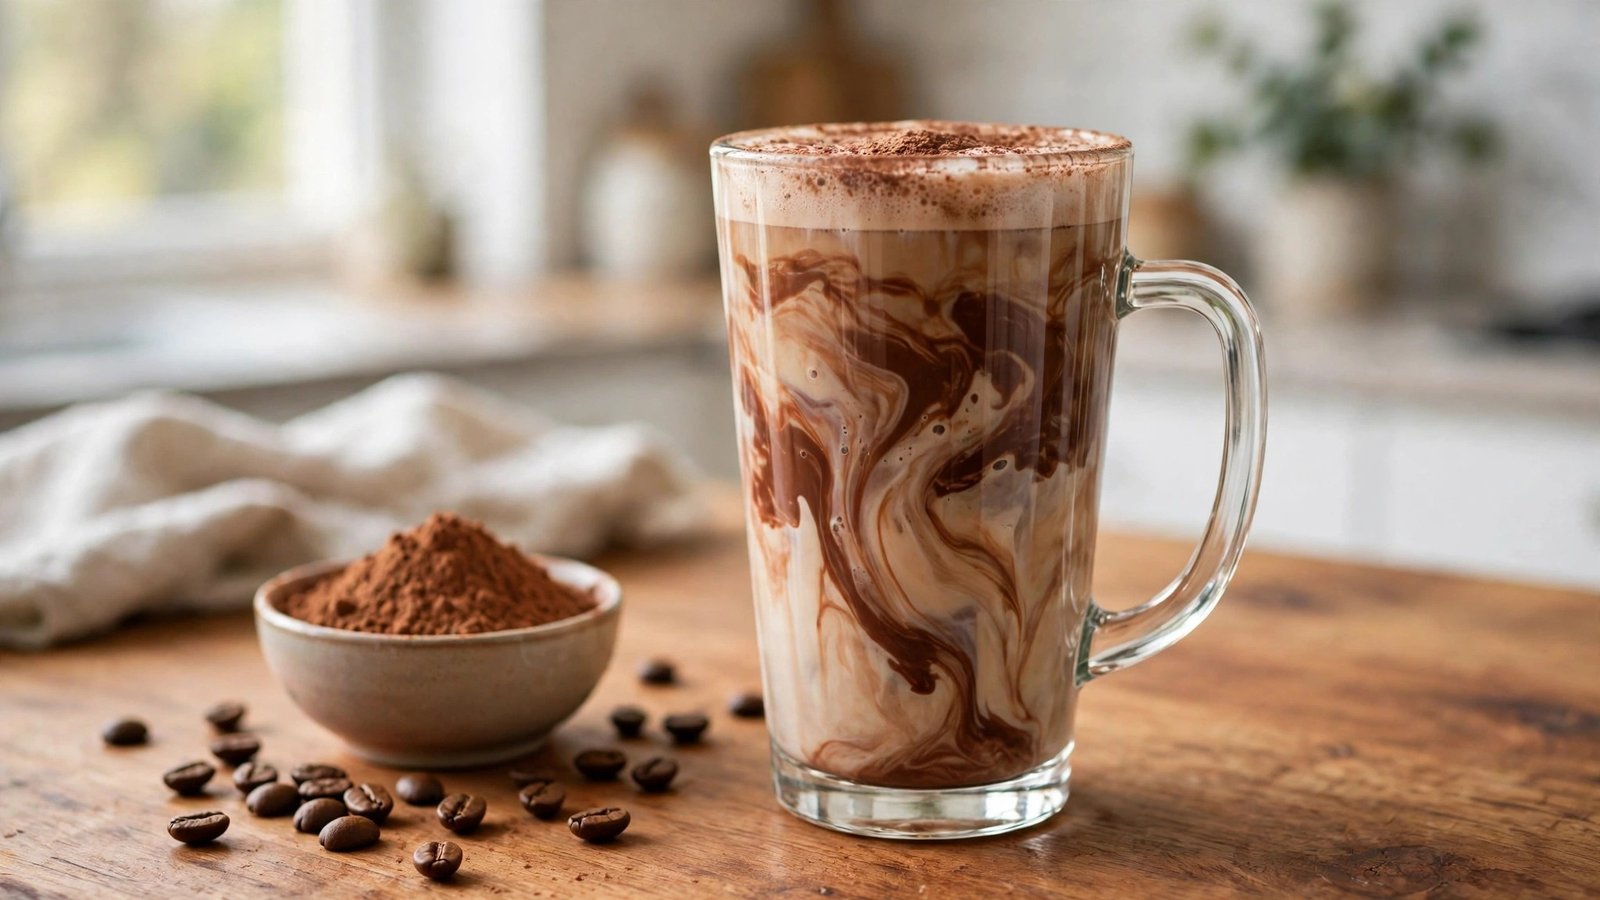
Whisk 1–2 tablespoons of unsweetened cocoa powder into the warm milk before adding the condensed milk. Sweet, chocolatey, and great in a strong brew.
Dairy-free option
Swap the dairy milk for oat or almond milk and use coconut condensed milk. The texture is a little thinner with plant milks, but it still works well.
Storage, Shelf Life and Safety
Refrigerate your creamer as soon as it’s bottled. Kept in a clean, airtight container in the fridge, it should stay fresh for 7–10 days.
A few ground rules:
- Always use clean utensils and a sterilised bottle — this is the main thing standing between your creamer and spoilage.
- If it smells off, tastes sour, or looks lumpy, throw it out. Don’t try to rescue it.
- Write the date on the bottle so you’re not guessing later.
Common Mistakes to Avoid
- Boiling the milk. High heat makes dairy split and gives the creamer a grainy texture. Low and slow wins.
- Adding extract while it’s still on the heat. Heat weakens the flavour of extracts — stir them in after the pan comes off the burner.
- Eyeballing the ratios. Too much condensed milk and your creamer is closer to syrup; too little and it tastes thin. Start with the base ratio above, then adjust to your taste.
How to Use It
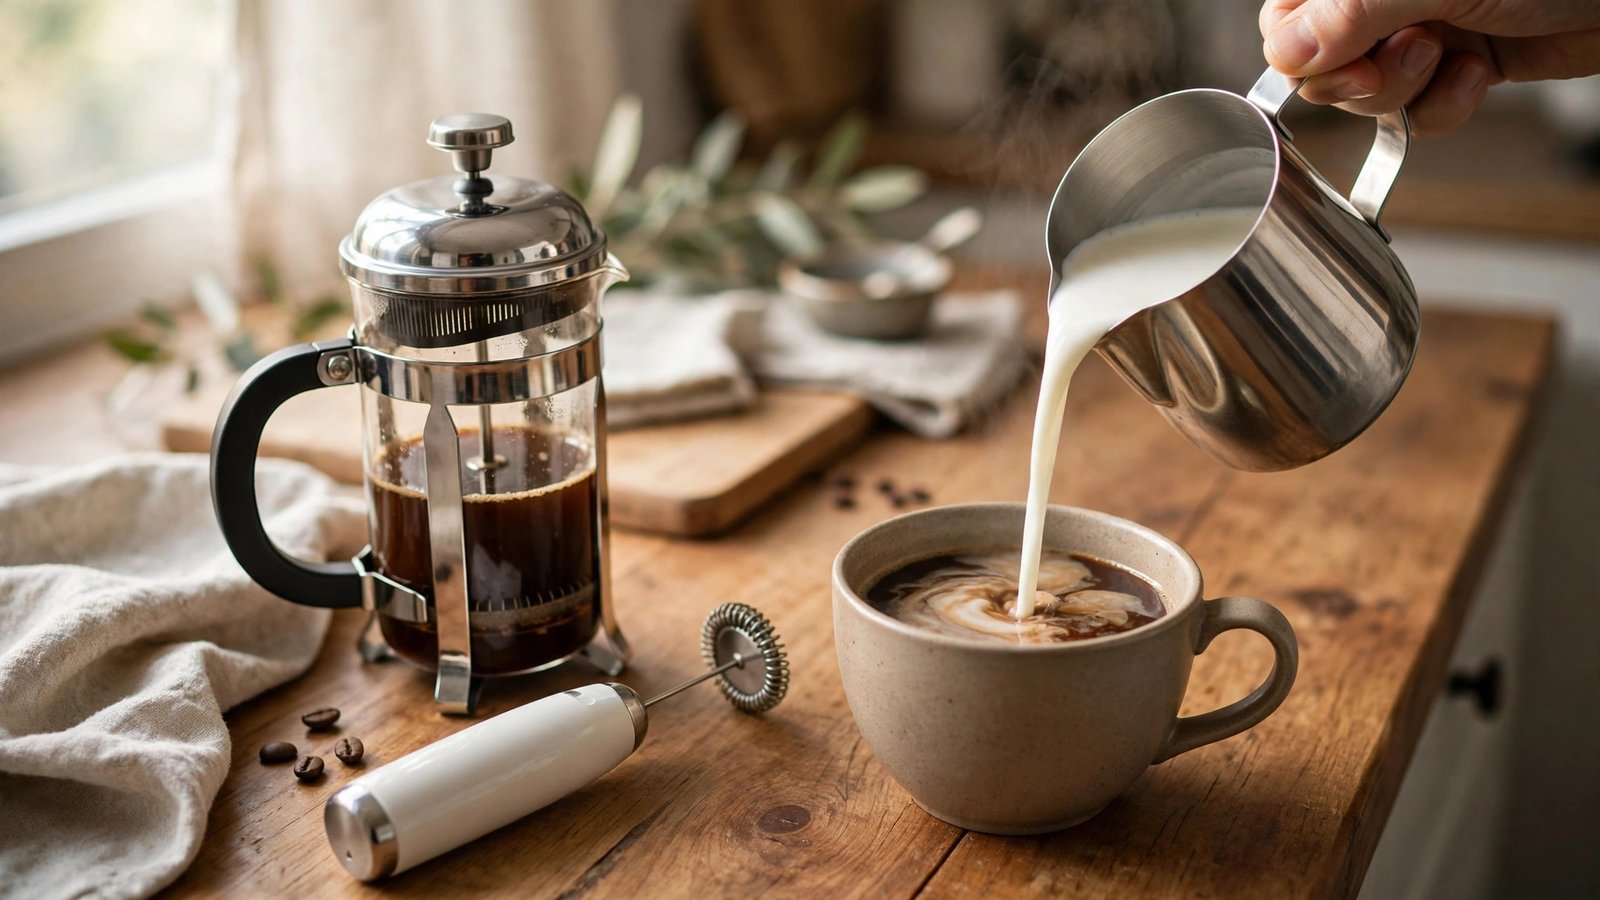
Start with 1–2 tablespoons per cup of coffee and stir well. Because it’s made with real condensed milk, it’s sweeter than most shop-bought creamers, so you may find you need less than you expect. It works in hot coffee, iced coffee, and even stirred into hot chocolate.
FAQ
How can I make my own coffee creamer?
Mix 1 cup of milk with about 3/4 cup of sweetened condensed milk, warm gently without boiling, then stir in vanilla extract off the heat. Bottle, refrigerate, and shake before each use.
What are the best 3 ingredients for coffee creamer?
Milk (or cream), sweetened condensed milk, and vanilla extract. They give you a smooth, creamy texture with no artificial additives.
Is homemade creamer better than store-bought?
In terms of ingredients, yes — you control everything that goes in and skip preservatives, artificial flavours, and thickeners. You also control the sweetness, which is useful if shop versions are too sweet for you.
How long does homemade coffee creamer last?
About 7–10 days in the fridge in a clean, airtight container. Discard it if the smell, taste, or texture changes.
Can I use plant-based milk?
Yes. Oat and almond milk work, along with coconut condensed milk for the sweetener. The creamer will be a little thinner than the dairy version but still tasty.
Does homemade creamer need to be refrigerated?
Yes, always. It contains fresh dairy and no preservatives, so it goes straight in the fridge after bottling.